Queen of the Carbs
|
A busy fall season with work and flu, then an early snowfall and winter's arrival left no time for traditional year end bike closing ceremonies. I was wondering what I would find in my carbs, come spring. I had visions of thick varnish coating the bowls, sticky slides, and clogged jets.
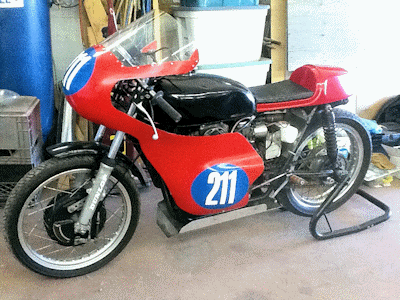
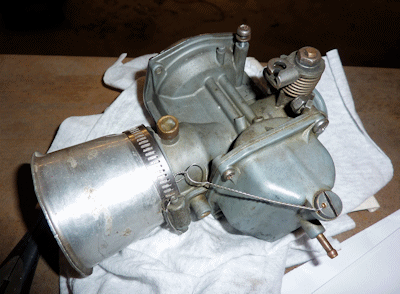
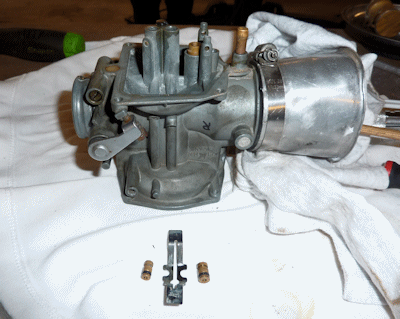
The carbs are from my 69 CB350. I originally assembled the bike in the spring of 2012, under the tutelage of Master Mechanic Tim, when it arrived as a rolling frame and multiple boxes of parts. Aside from a tiny episode with an exploding piston, the bike ran without difficulty for the race season. I raced in the P1-350 and P2 Open with the VRRA at Shannonville and Mosport.
|
|
|
The night before I opened them up, I researched basic carb disassembly procedures and tips for reassembly. The last carburetor I opened up was off my Chevette, and that didn't go too well.
This time, I wanted to be a bit more prepared. I found the website, oldmanhonda.com, to be clear, thorough and generic enough to be applicable to my Keihin carburetors. I also had access to a Clymers manual. (http://www.clymer.com/Book.aspx?bid=482&title=Clymer++Honda+250-350cc+1964-1974) Although I find some help in service manuals, most are written for people with far greater knowledge and experience than I have.
|
|
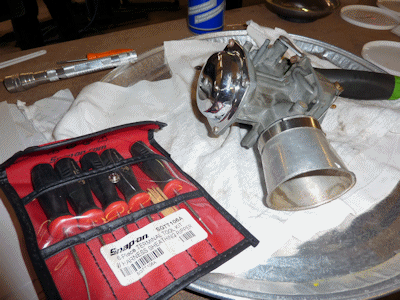
In the morning, I set out my cleaning tools and rags on a tray. From everything I'd read, I was prepared to be very cautious and gentle with the parts. It was obvious that cleaning carbs was like love or a fart: if it had to be forced, there was going to be shit happening.
|

|
|
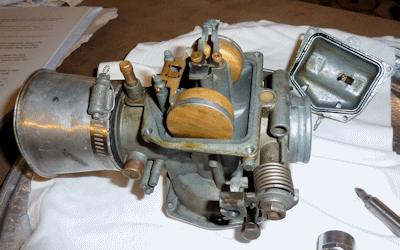
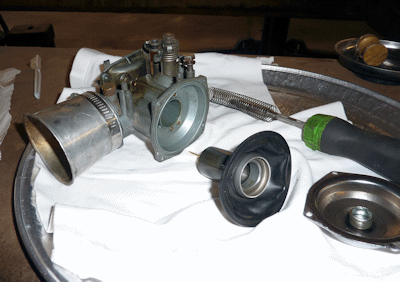
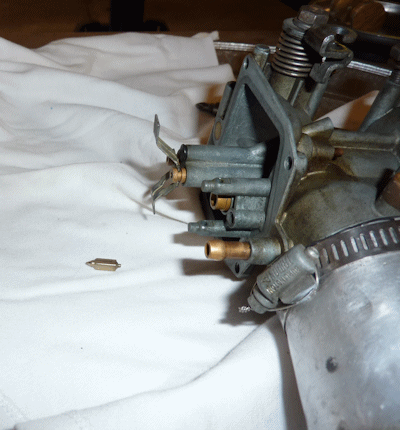
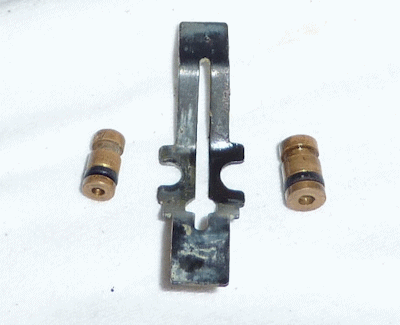
So many tiny parts, so many little orifices to hide them in. I took photos at every step, just in case. You tell yourself, "Of course I will remember", but it's not that easy, especially for your first time. I was lucky.
There was minimal varnish and nothing was stuck. It was fascinating to match up the exploded parts diagram with the reality in front of me. And helpful. Was that flange facing up or down? Does that clip slide under or over? Is there really a pilot screw under that tiny rubber plug?
|
|
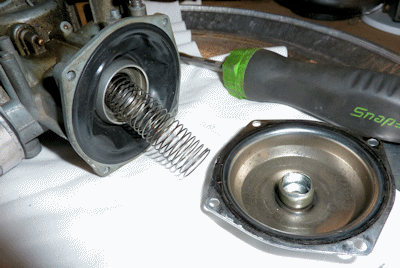
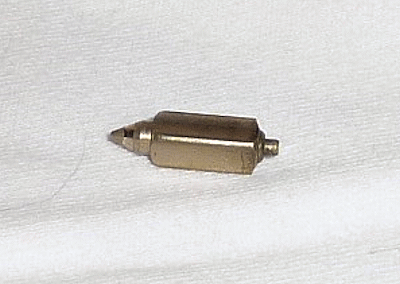
Careful inspection, followed by delicate cleaning, revealed interiors that were in good shape. My floats still floated. My float valve moved easily.
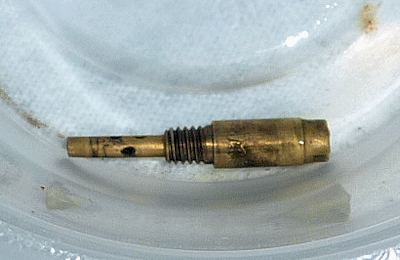
No tears in the rubber diaphragm. I used fishing line in the smallest of the orifices, after soaking the bits in parts cleaner. A quick blast with the air gun ensured their cleanliness, which was confirmed by my trusty flashlight.
|
|
|
|

|
With only two carbs, I was hoping to complete the job in one day. The first one took three hours; the second one took half that. Hmmm. By that math, if I'd had a bank of four, the last one would have only required 22 1/2 minutes.
Editors Note: my first carb cleaning excercise lasted an entire year - to be fair, it was 4 carbs not two, and they were much much dirtier, but still... Laura's carb cleaning is considerably more efficient than mine! Hence, she has earned the title 'Queen of the Carbs'.
|
|
|
|
|
|
I enjoyed the zen of carb cleaning. Possibly because of the novelty, but also because so many tiny parts work together to make the bike perform optimally. One clogged hole can ruin your ride. I'm already looking forward to the next set of carbs I can clean, when I have a few hours to spare. Hopefully before I forget everything I learned this time.
by Laura VRRA #211
Carburetor Queen
|

|

|
|
|